Plink - Welfare and Duress Operation
Overview
This guide will provide instructions on how to use the Welfare Checking and Duress Functions of the Plink Lone Worker / Static Guard App.
Logging into Plink
The first time you open Plink you will need to enter the Web Portal ID, User and Password provided by your supervisor.
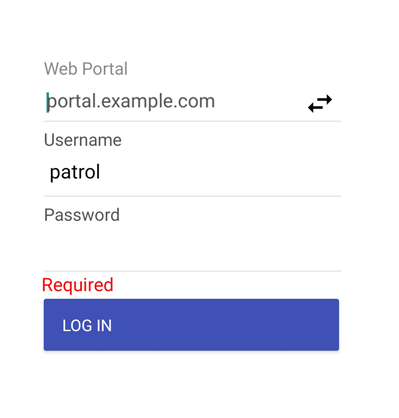
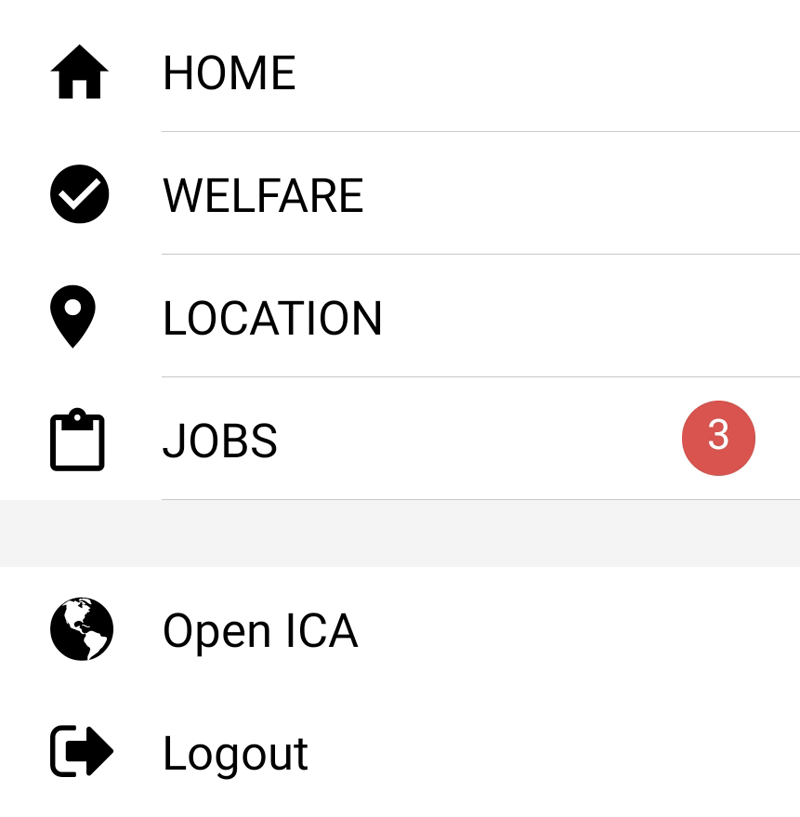
Once logged in Patrols can access the main menu with the menu button at the top left or the main app buttons at the bottom the screen.

The Main Menu has the same buttons to navigate to the same windows as the bottom of the APP and also includes the Open ICA (Web Portal) & Logout buttons
Welfare Window
Once Plink is loaded the first window that appears is the Home Window which shows the status of Welfare Checking, Location Tracking and the availability of Patrols to be sent Jobs. A current Dispatch Job and Digital runsheet jobs due totals are also displayed.
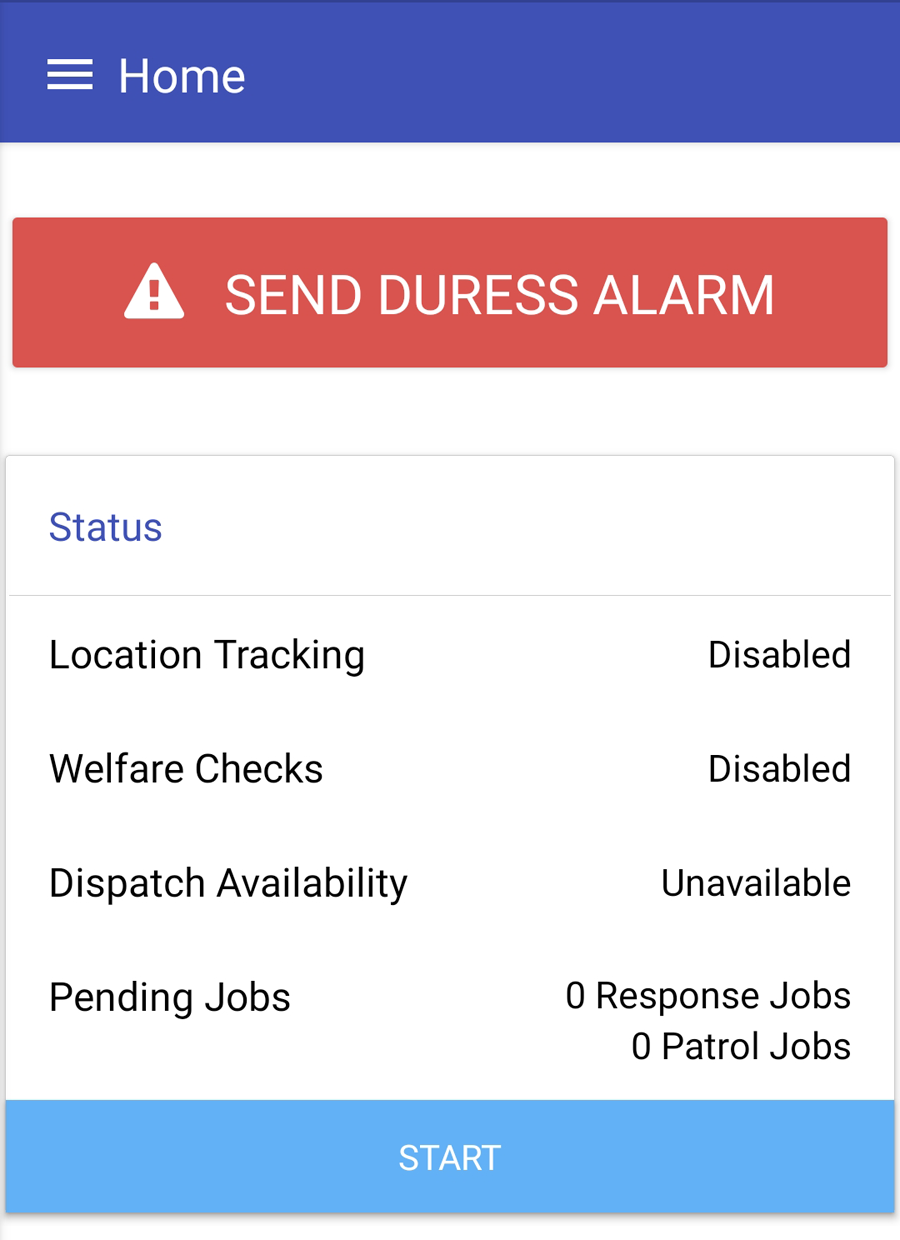
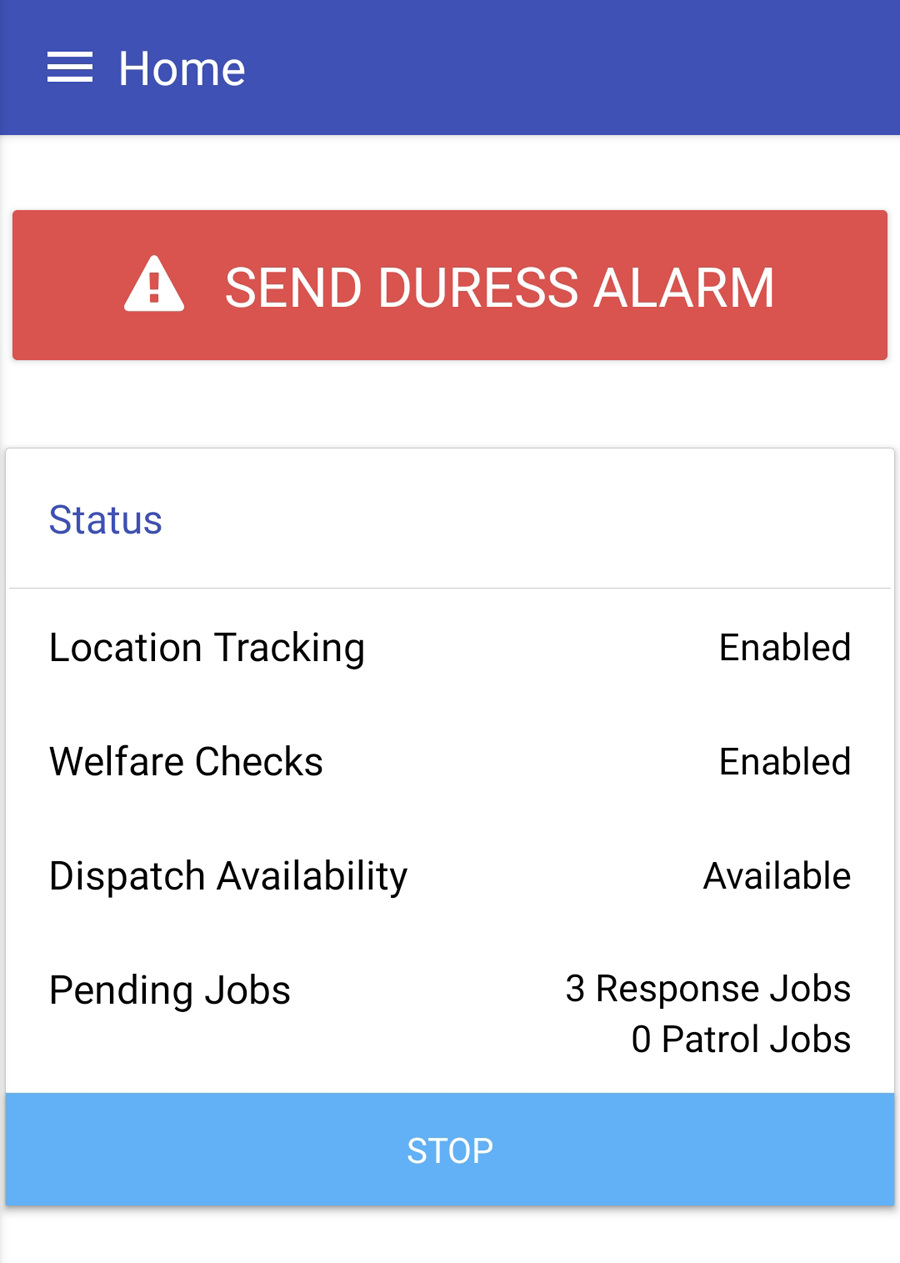
When Welfare Checks, Location Tracking and Jobs are updated then this home screen will update the information so Patrols can easily see the status of their APP from the Home screen.
The Welfare Checks Window and Location Tracking Windows can be easily accessed through the Main Menu or the Menu buttons at the bottom of the app.

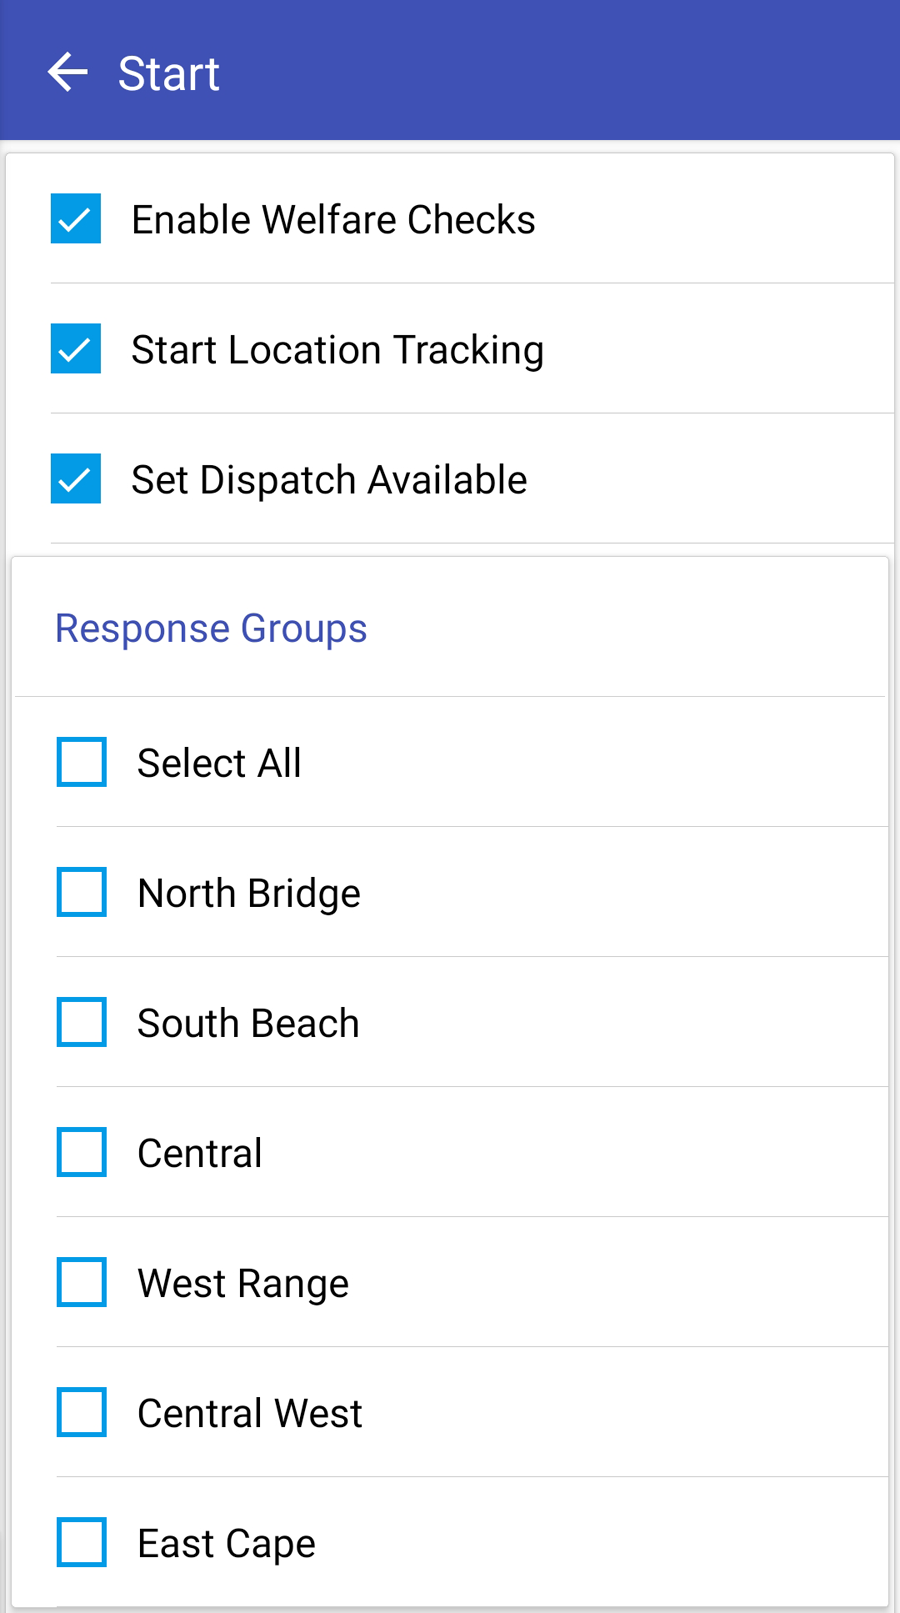
You can quickly start Welfare Checks, Location Tracking & Dispatch Availability by clicking the "START" button on the Home screen.

Welfare Checks
To control Welfare Checks go to the Welfare Checks Window through the main menu or Welfare button at the bottom of the APP. By default the Welfare Checks are disabled.
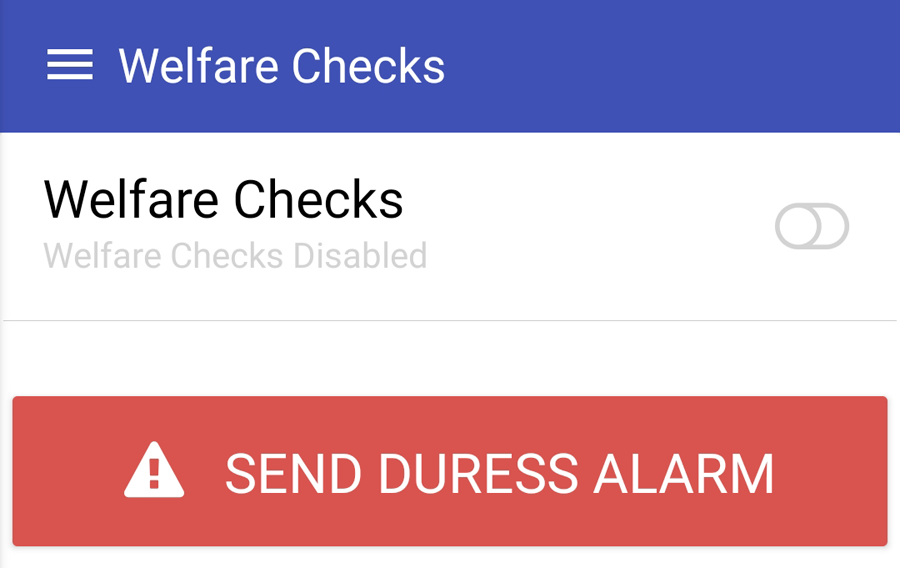
Click the on button beside the Welfare Checks Title to turn on the Welfare Checking.
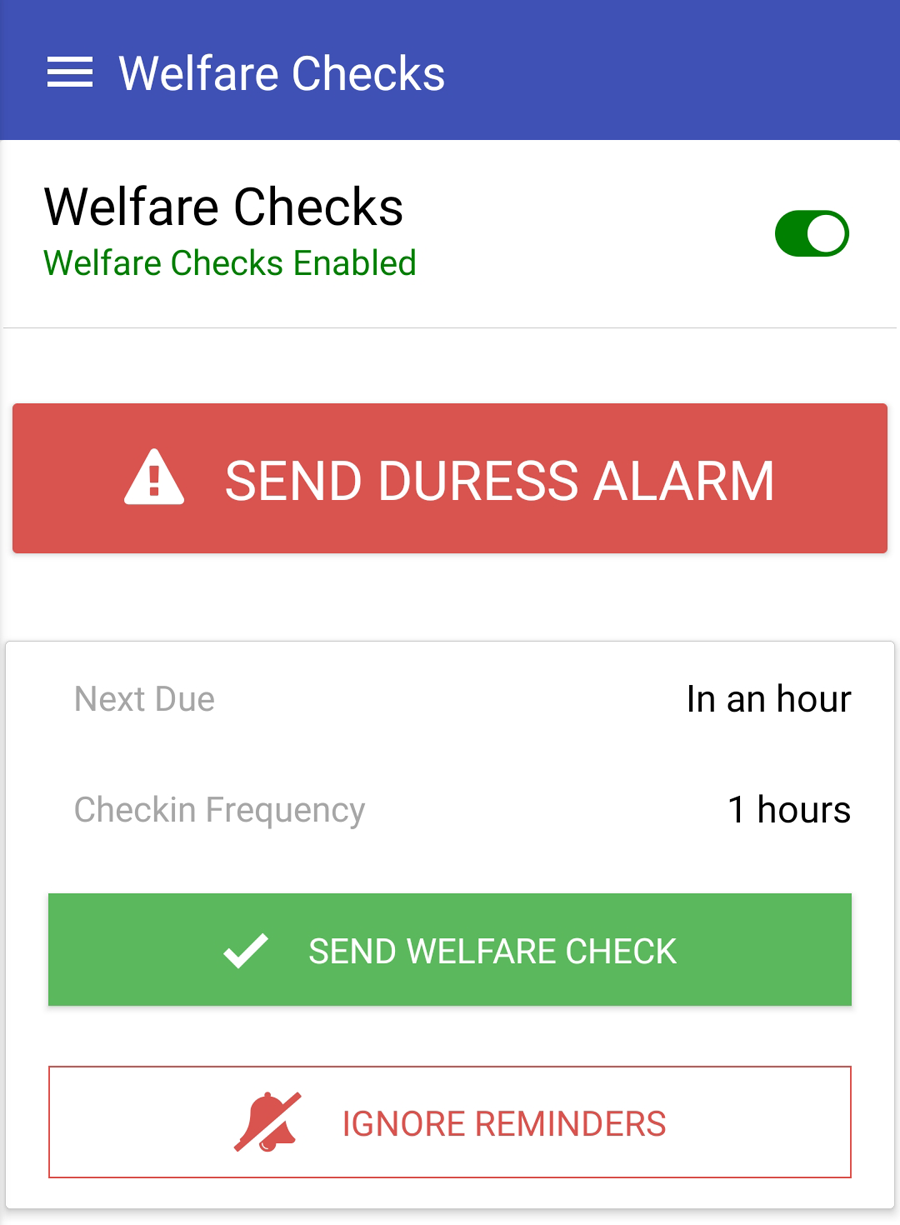
Once the Welfare Checks are enabled the Welfare Check Window will show when the next Welfare Check is due and the Check In frequency. The check in frequency is set by the Monitoring Station / Dispatch Center.
When a Welfare Check report is sent Plink will attempt to obtain a GPS location to transmit with the welfare report. If the phone cannot obtain a GPS location lock within 30 seconds the welfare report will be transmitted without a GPS location and a warning will show.
There is also a duress button on the Welfare Check Window to send a duress alarm quickly if required.
Location / GPS Tracking
To control Location Tracking go to the Location Tracking Window through the main menu or Location button at the bottom of the APP. By default the Location Tracking is disabled.
![]()
Click the on button beside the Location Tracking Title to turn on the Location Tracking.
Once the location Tracking is enabled the GPS location of the phone will be automatically transmitted to the monitoring station once every 1 minute.
You can also manually transmit a location at anytime with the Send Location button.
Note that when manually transmitting a location (or sending a welfare check or duress alarm) Plink may transmit a cached location instead of requesting a new GPS location lock if there is a cached location available that is less than 60 seconds old.
There is also a duress button in the Location Tracking Window to send a duress alarm quickly if required.
![]()
Sending Duress Alerts
You can send Duress alerts to the Monitoring Station or Dispatch Center by pressing the Duress Buttons located in Home Screen, Welfare Checks Window or the Location Tracking Window.

Warning: when the duress button is pressed and a GPS location lock cannot be obtained immediately, the alarm will be transmitted without a location. For this reason it is recommended that Plink background location tracking is always enabled.
An optional bluetooth button can also be used to trigger the Duress alarm without needing to access the Plink App
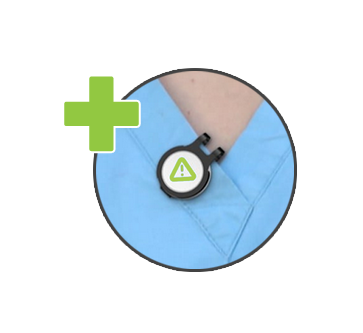
For more information on how to setup the bluetooth Duress Button check out the library documentation below.
Plink - Flic Bluetooth Button Setup for iOS
Plink - Flic Bluetooth Button Setup for Android
For more information on how to receive and complete Patrol Dispatch Jobs click the link below
For more information on how to load a Digital Runsheet and complete Scheduled Site Check Jobs click the link below
Plink Digital Runsheet Jobs Tutorial
