Plink - Completing Scheduled Patrol Jobs
Overview
This guide provide Patrols with instructions on how to use the Plink Patrol App to receive and respond to job dispatch requests. Instructions include how to load a runsheet, view the Patrol Jobs, select the Patrol Job and complete the Patrol Job.
Setup Run Group Access
Before a patrol can load jobs, you will need to setup the Run Group Access in the global user maintenance.
Open Maintenance > Users > User Maintenance. In the Guard Tour tab, assign appropriate run groups to the user, or enable Full Patrol Run Group Access.
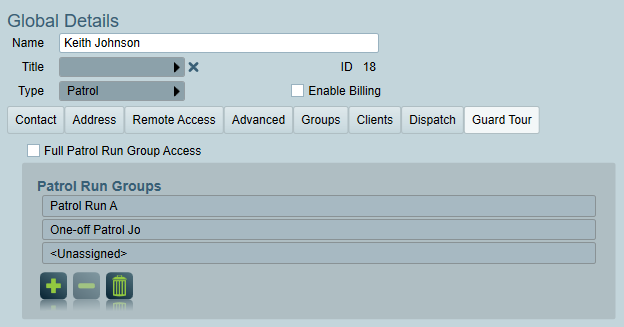
This will affect which jobs and run groups are available for the patrol in Plink.
Logging into Plink
The first time you open Plink you will need to enter the Web Portal ID, User and Password provided by your supervisor.
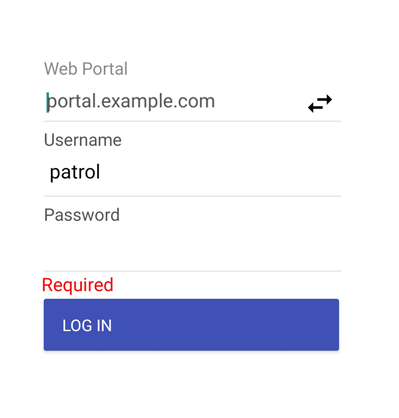
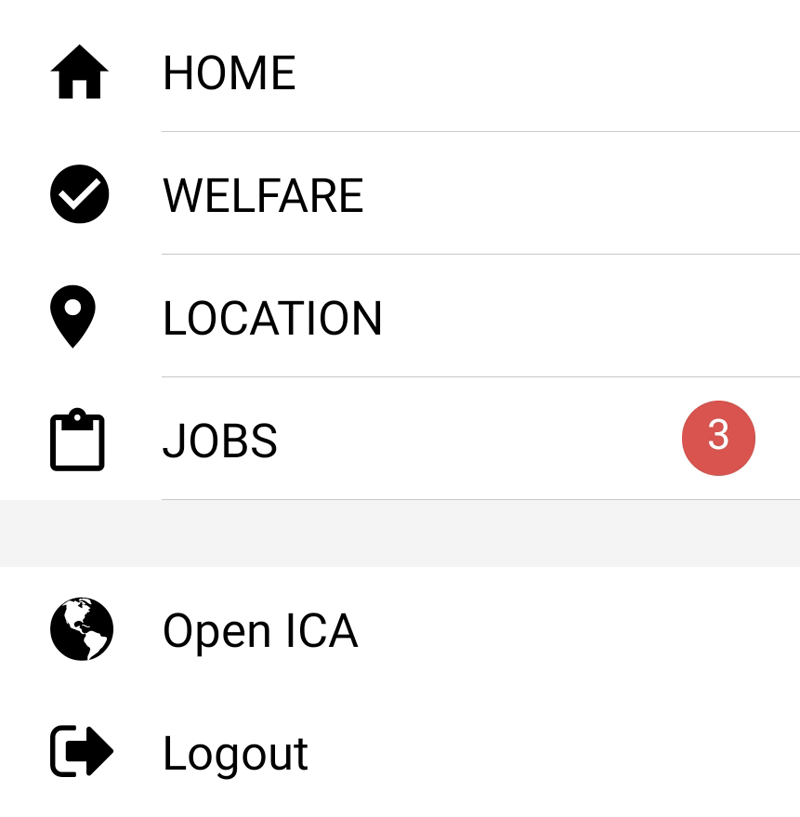
Once logged in Patrols can access the main menu with the menu button at the top left or the main app buttons at the bottom the screen.

The Main Menu has the same buttons to navigate to the same windows as the bottom of the APP and also includes the Open ICA (Web Portal) & Logout buttons
Jobs Screen
The Jobs Screen in Patriot is accessed by clicking the Jobs button at the bottom of the app or from the main menu.

This screen will show the patrol their availability status and current jobs in progress. This includes the Dispatch request Jobs and the Digital Runsheet scheduled check jobs.
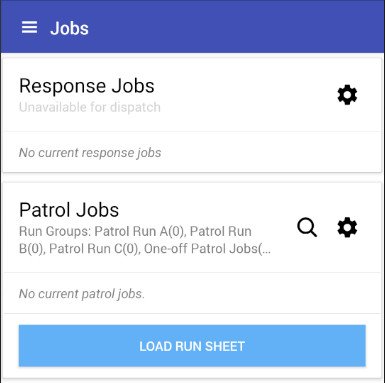
The Scheduled Patrol Jobs are listed below the Dispatch Jobs.
Loading a Runsheet
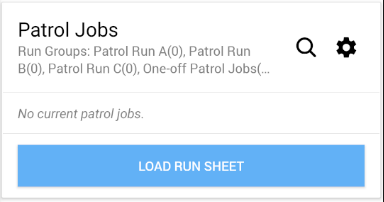
The Patrol can click the 'Load Run Sheet' button to check for additional jobs that are within their shift or load the jobs if no jobs are displayed.
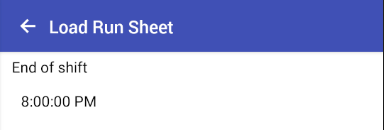
To pick up run sheets patrols must select their end of shift time.
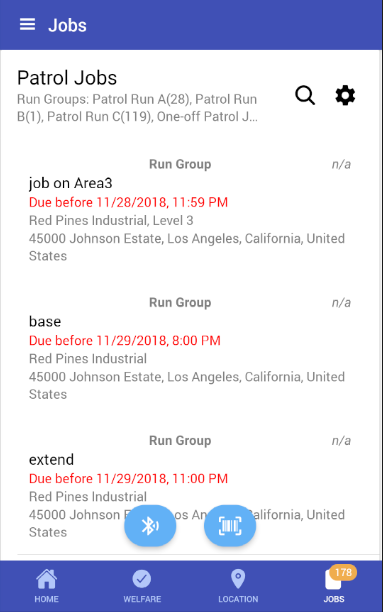
Once the Patrol Run jobs are loaded the Patrol can being to action the jobs.
Only jobs belonging to the run groups which the patrol has access to can be displayed. The jobs are listed in the order they should be completed, the next job needing completion will be at the top of the list however jobs can be completed in any order.
Filter Jobs
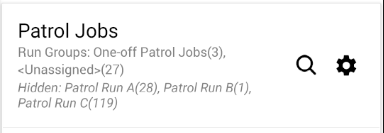
The Patrol can click the cog icon next to the Patrol Jobs title to filter out jobs belonging to certain run groups.
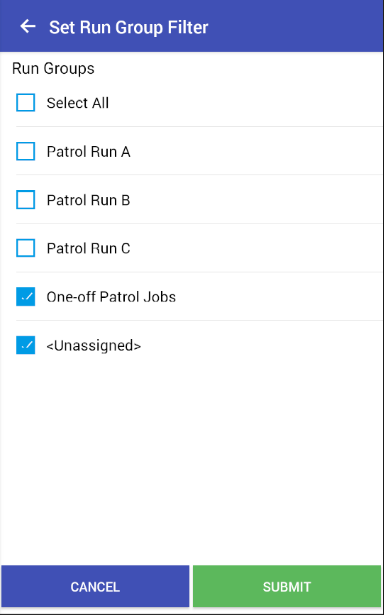
Only run groups which the patrol has access to will be displayed. The Patrol Jobs title will show a summary of currently selected and hidden run groups, as well as the amount of jobs belonging to each run group.
Beginning a Job
Selecting a job will open up the details for the job and allow Patrols to scan tags as well as add job notes and photos.
Patrols can just scan the first code and this will open up Plink and allow them to select the job quickly. This saves the Patrol time when performing site checks on many sites.
Note: you can switch between you current selected Job and Pending Jobs by using the top menu. Job History on contains Dispatch Job History.
To begin a job select it by clicking on it or scan a Scan Code that is associated with the job.
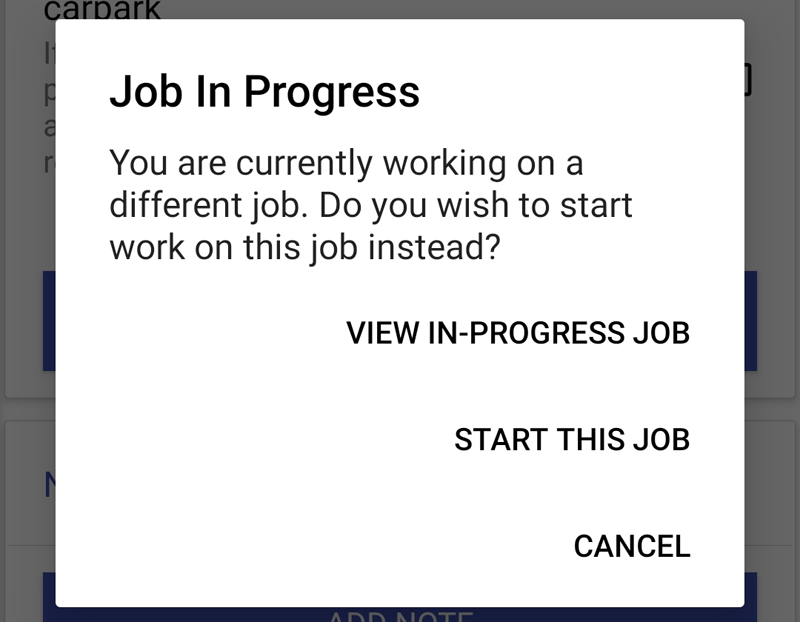
If a patrol tries to begin a job when they are currently on another job then a prompt will allow them to put the previous job on hold and start the new job, go back to the previous jobs job window or cancel the action.
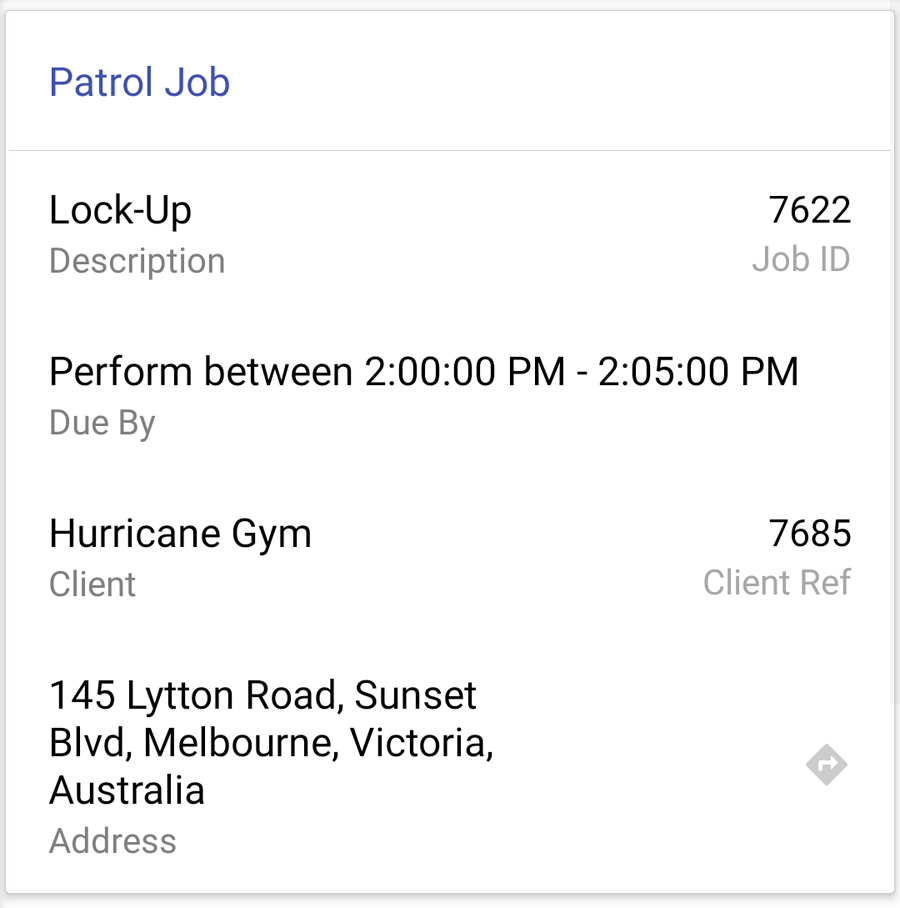
Once a Job is loaded the Patrol can see the basic details of the client, notes and the address.
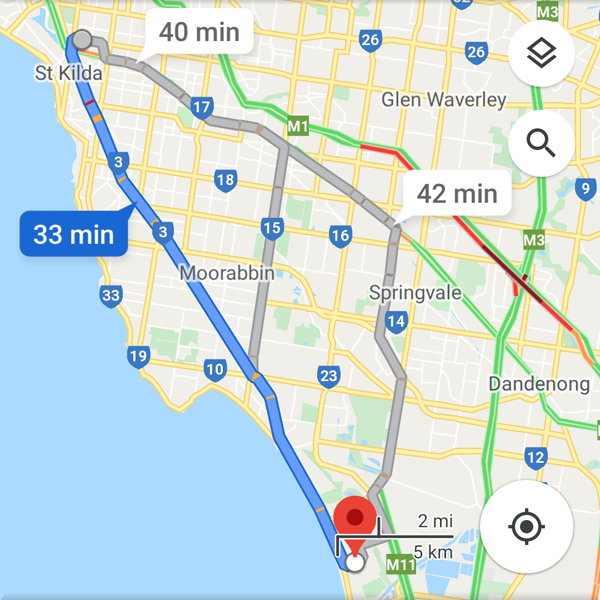
Clicking on the Arrow icon beside the Address will take the Patrol to the phones map tab so they can see the quickest route to the site.

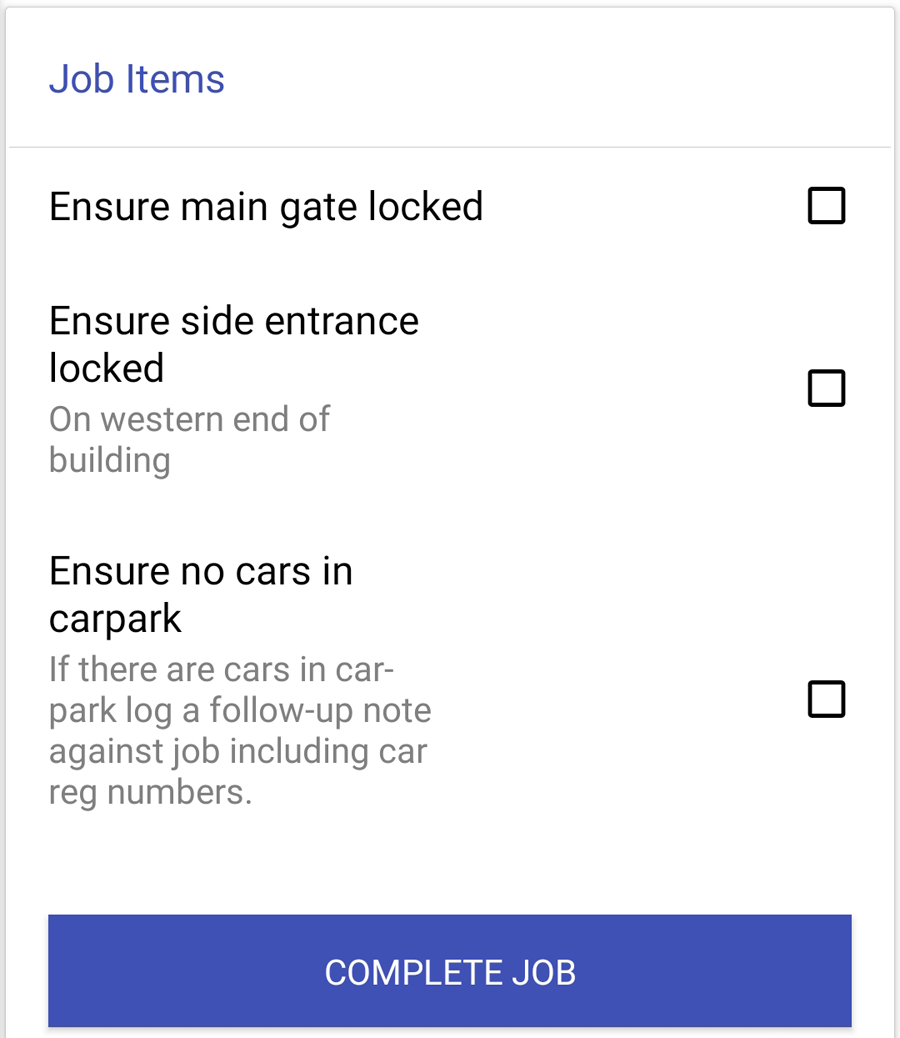
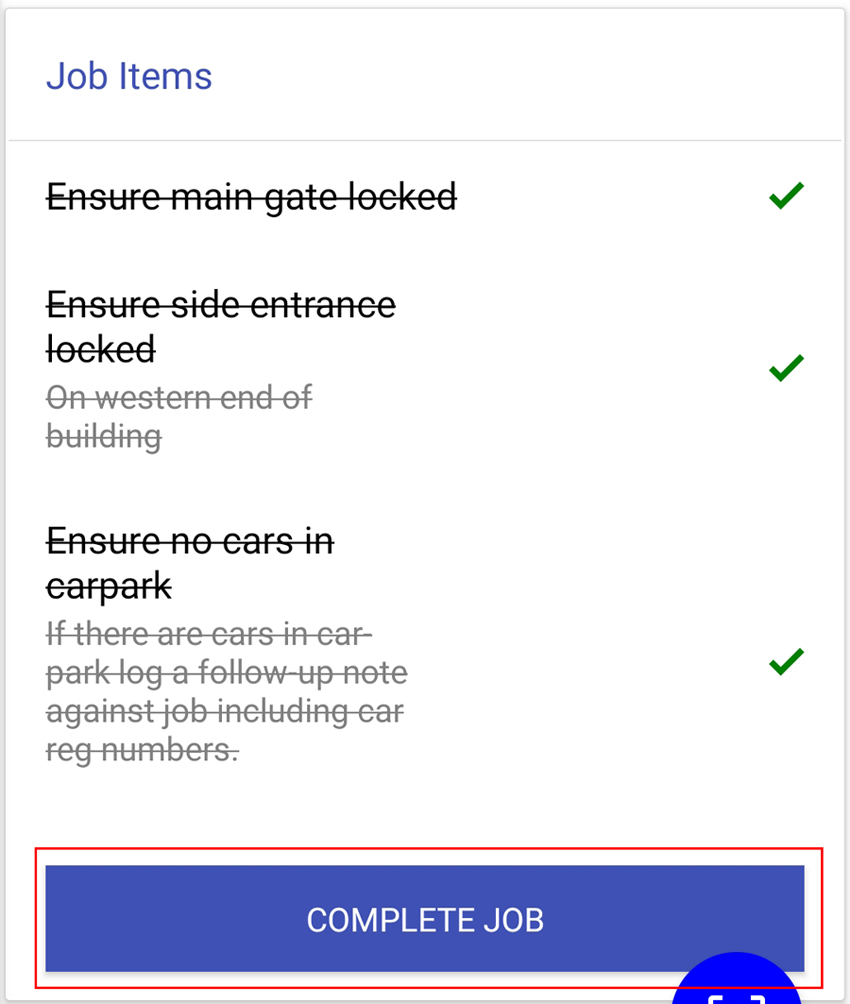
Once the Patrol is on-site they can follow through the Job instructions. If the Job has specific check list items or scan code items these will need to be checked off or scanned individually. The Check List is found under the general Job details. Checklist items can be unchecked if accidentally checked.
Scan Codes will need to be scanned. NFC tags will need the Patriot app open and then the phone to be passed by the scan code. QR Codes will need the Patrol to click the QR scan code button in the app Job window and then scan the code.
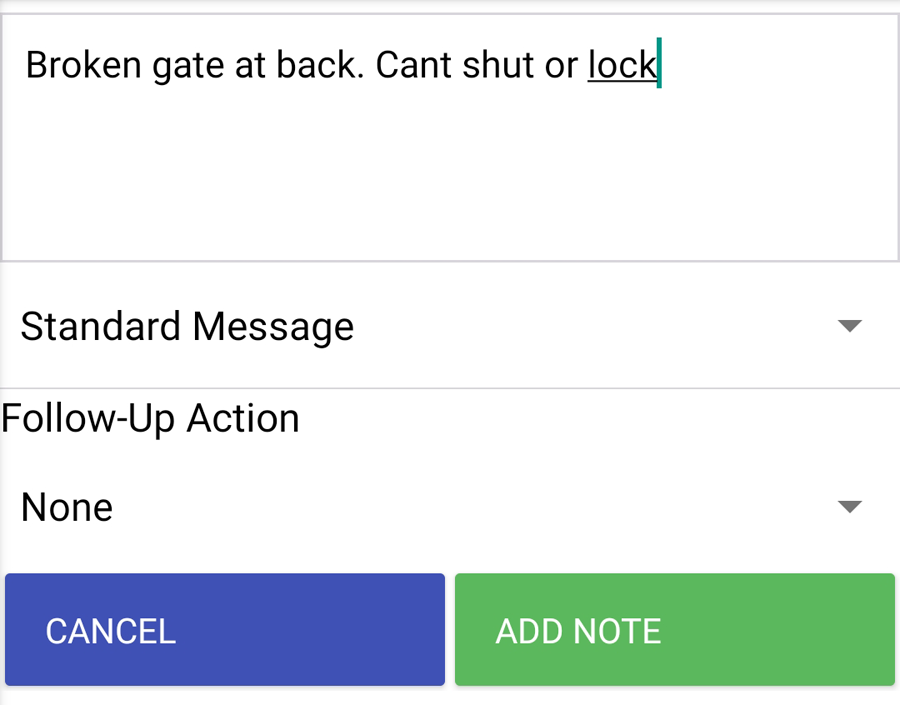
Adding Notes & Photos
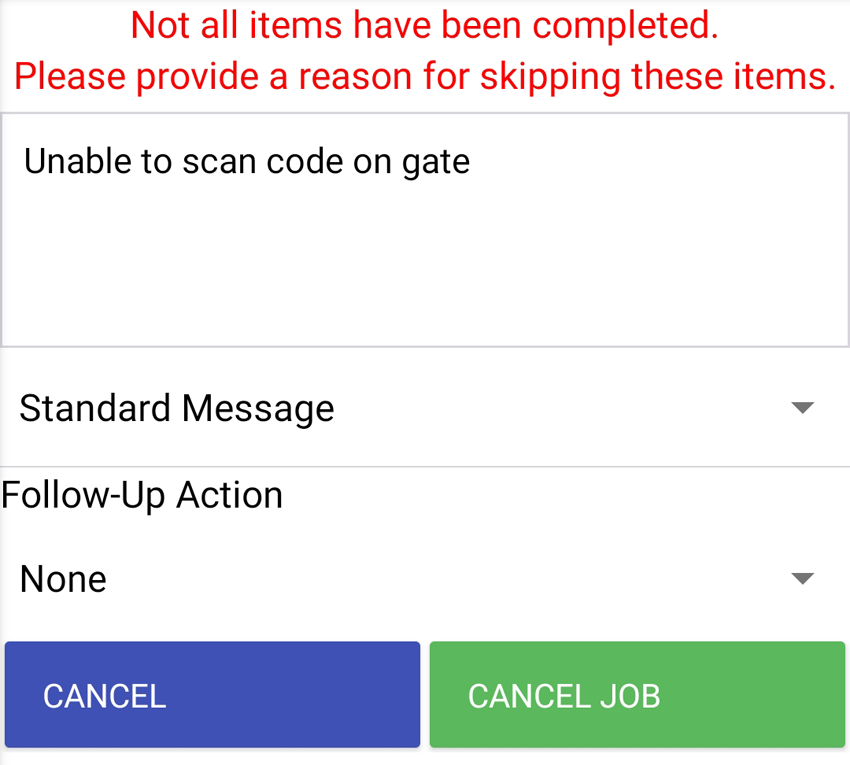
Patrols can add notes to a job which can be viewed by operators and included in reports. Notes can be entered manually, using standard messages and follow up actions can be selected if required. Follow up Actions can raise the event to an Operator so they can follow up (i.e. call a Glazier for a broken window etc.).
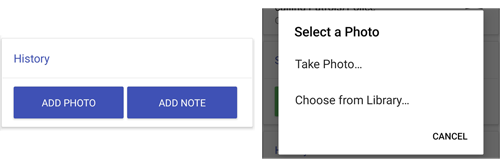
Patrols can add also add photos to the job history which can be viewed by operators and included in reports. Photos can be taken from the camera or added from previously taken photos from the phone gallery
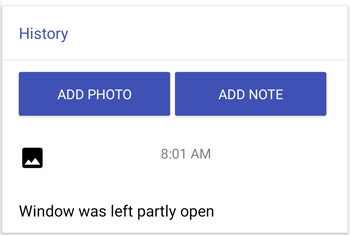
Once Notes and Photos are taken and added into the Job they are displayed in the Job history.
Completing a Job
Once each item is completed and checked off the job can be completed by clicking the "Complete Job" button.
If for any reason a job cannot be completed e.g. scan codes cannot be scanned, then the Patrol can 'cancel' a job. Cancelled jobs can raise activations so that an operator can follow up if needed.
Once completed the job is removed from the Patrol Job list and the next due job is at the top of the Patrol Jobs List.
NOTE: Site Images can be presented to patrols for dispatch jobs. See here for details.
More Information
For more information on how to use the Welfare Checking and Duress functions in Plink click the link below
For more information on how to receive and complete Patrol Dispatch Jobs click the link below