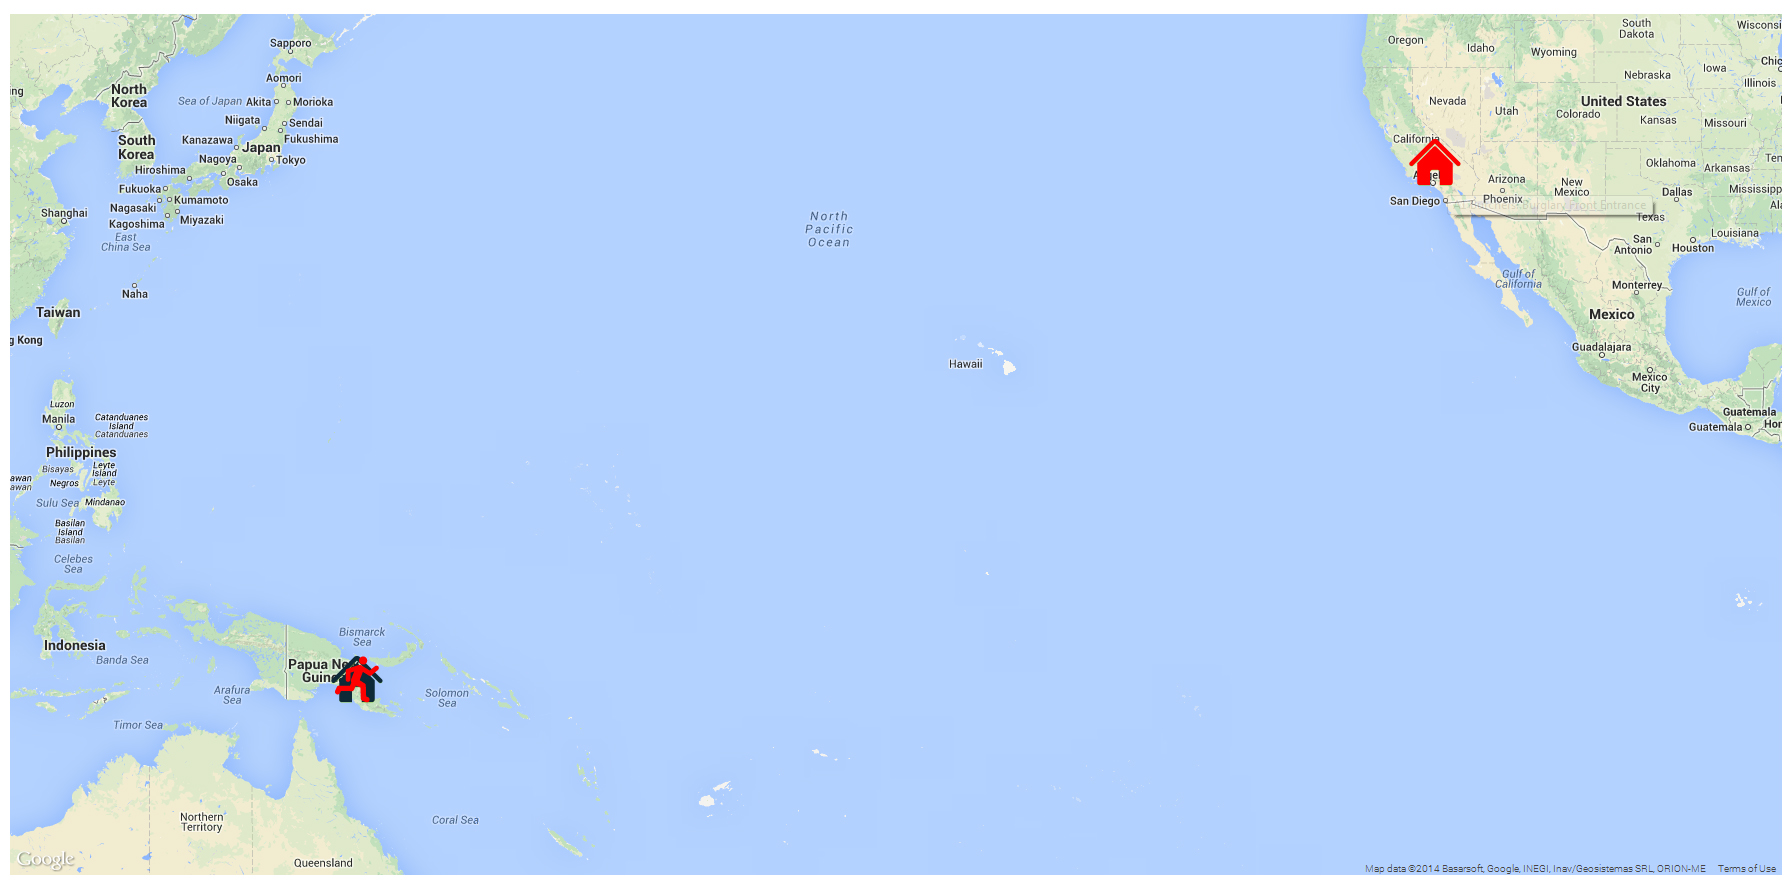
Internet Mapping
Patriot's Internet Mapping module adds an enhanced user interface and extra
functionality to the basic mapping functionality that comes with Patriot as
standard.
Key features include:
- Quick address search
- Mobile client (tracking and lone worker device) route plotting, filtering
support, and GPS activation monitoring support (with compatible alarm
panels).
Review the Patriot Mapping Video demonstration video here.
Prerequisites
A Patriot License with the Internet Mapping Module
The Internet Mapping Files
Currently only Google Maps is supported.
The Internet Mapping Files should include the following:
- apicons
- AlarmMobile.png
- AlarmSite.png
- NonAlarmSite.png
- PatriotActivationMonitoringMapping.html
- PatriotMapping.html
The Internet Mapping files for your version of Patriot can be downloaded
from the client area of
the Patriot website. The Internet Mapping files must be installed to a
location that is available to all Workstations that will be using the
Internet Mapping module. The best way to do this is by copying the internet
mapping files into the root directory or sub-folder of a publicly
accessible web server.
-
Google Maps API Key
Google Maps API now requires that all users obtain a key from their
website. Follow these steps to get an API key:
Log in to your google account. If you do not already have a google account, you will need to sign up for one.
Go to the Google Cloud Platform Console, at https://cloud.google.com/console/google/maps-apis/.
Create or select a project.
Choose the type of API service to enable.
Select Maps JavaScript API from the list of available mapping services.
Click Enable to activate your Mapping API Key.

Open the Credentials tab to see the details for the new key.

Copy the API Key to the clipboard, and then paste it into the HTML of the Internet Mapping files.
You will need to open these HTML files in a text editor:
PatriotMapping.html
PatriotActivationMonitoringMapping.html
DispatchCoverageMapping.html (If you have the Dispatch Module on your Patriot license)
At the top of each file there should be a section for the API Key which you need to modify as follows:
var USE_KEY = true;
var API_KEY = "Add your Google Maps API Key here";
If you are setting up a new API Key, you will also be required to activate billing for Google Cloud Platform.
Open the billing tab of Google Cloud Platform to activate or change payment methods.
This requires a credit card as part of the activation process.
Your credit card will not be charged unless you exceed the monthly quotas for usage. View
Google's billing and usage terms for more information.
Note: The Google Maps API has terms of use which may limit how their
services can be used. It is up to you to understand and conform to these
conditions.
For more general information about setting up Google API Keys, go to:
https://developers.google.com/maps/documentation/javascript/get-api-key
Setup Mapping in Patriot
Go to System -> System Settings -> System
Wide Settings
Go to the 'Misc Settings' Tab, this is where you will find the system
wide mapping options.
- You will need to enter the location of the Internet Mapping files have
been hosted on a website, server or installed locally.
This will be the folder location on the webserver which was set up
earlier. e.g. http://www.mywebserver.com/Mapping (or C:/Program
Files/Patriot Systems/Internet Mapping Files or \\PATRIOT1\Internet Mapping
Files).
Note: There is no / (forward slash) at the end of the location, and
local locations need to use / and not \
You can also specify a zoom percentage here which controls the
percentage of maximum zoom that the map will open at by default. A Map Zoom
level of 90% is the recommended starting point.
Save the changes. There is no need to restart Patriot for these settings to
take effect.
Setting up client locations
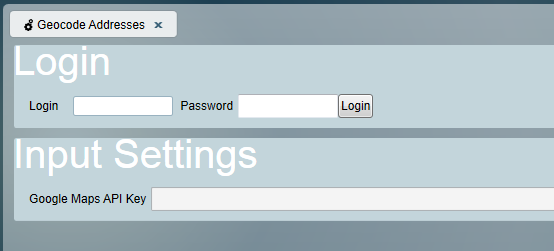
You can run a utilitiy to attempt to convert the addresses of all your
clients into GPS locations.
This must be run on the same machine as the Patriot Data Service. From the
Utilities program (seperate program installed in the client installation
folder), select System -> Data Utilities -> Geocode Addresses.
Enter a Patriot login and password and press the login window, to connect to
the data service. Once connected, enter the API key you used when setting up
the mapping server. Then press Run.
Note there is a daily limit of 2500 addresses (imposed by Google) that can
be geocoded. If you hit this limit you will be given a warning and asked to
rerun the utility again the following day. If you have a large database, you
way need to run this several times over a succession of days.
Using Internet Mapping for Sites/Mobile workers
Static Sites/Clients
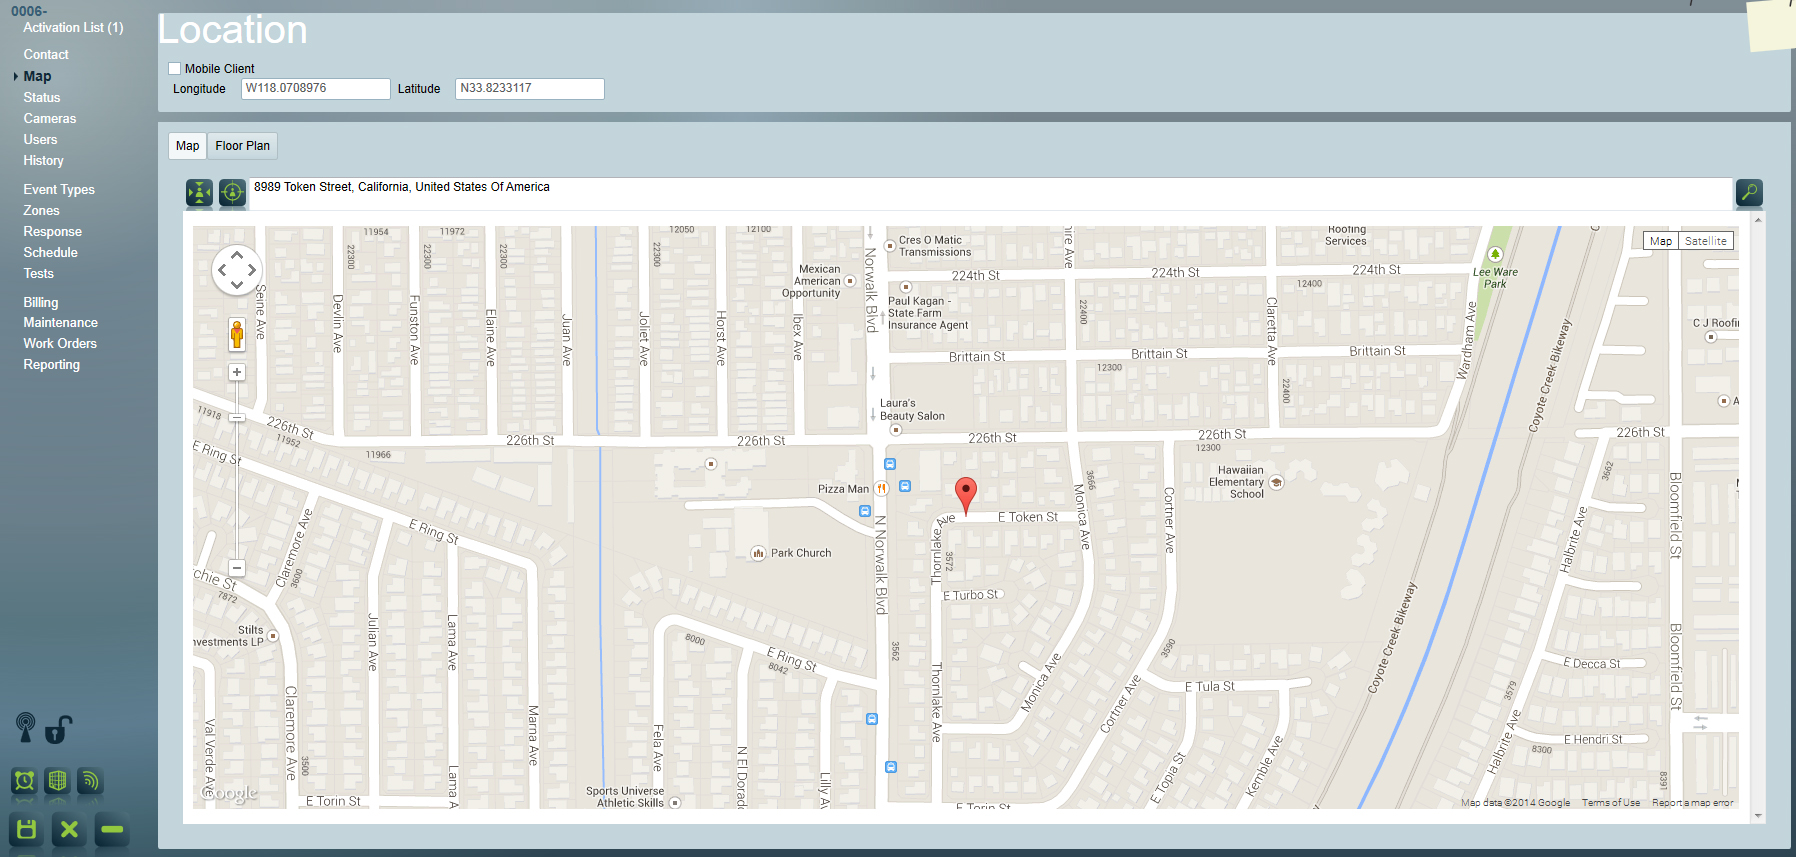
Site/Clients Maps are now accessible through the Map tab of their Client
record.
 |
Set a static Site/Client
location: On the Map move the red location icon, or use the
search feature to navigate to the exact Site/Client address then click
'Move Client to Center'. Click the save button on the bottom left of
the screen and this will save the Site/Client location for future
reference
|
 |
Recenter on
Site/Client: If you have navigated away from the Site/Client you
can easily return the map back to the Site/Client by using the 'Center
Map on Client' button.
|
Mobile Clients
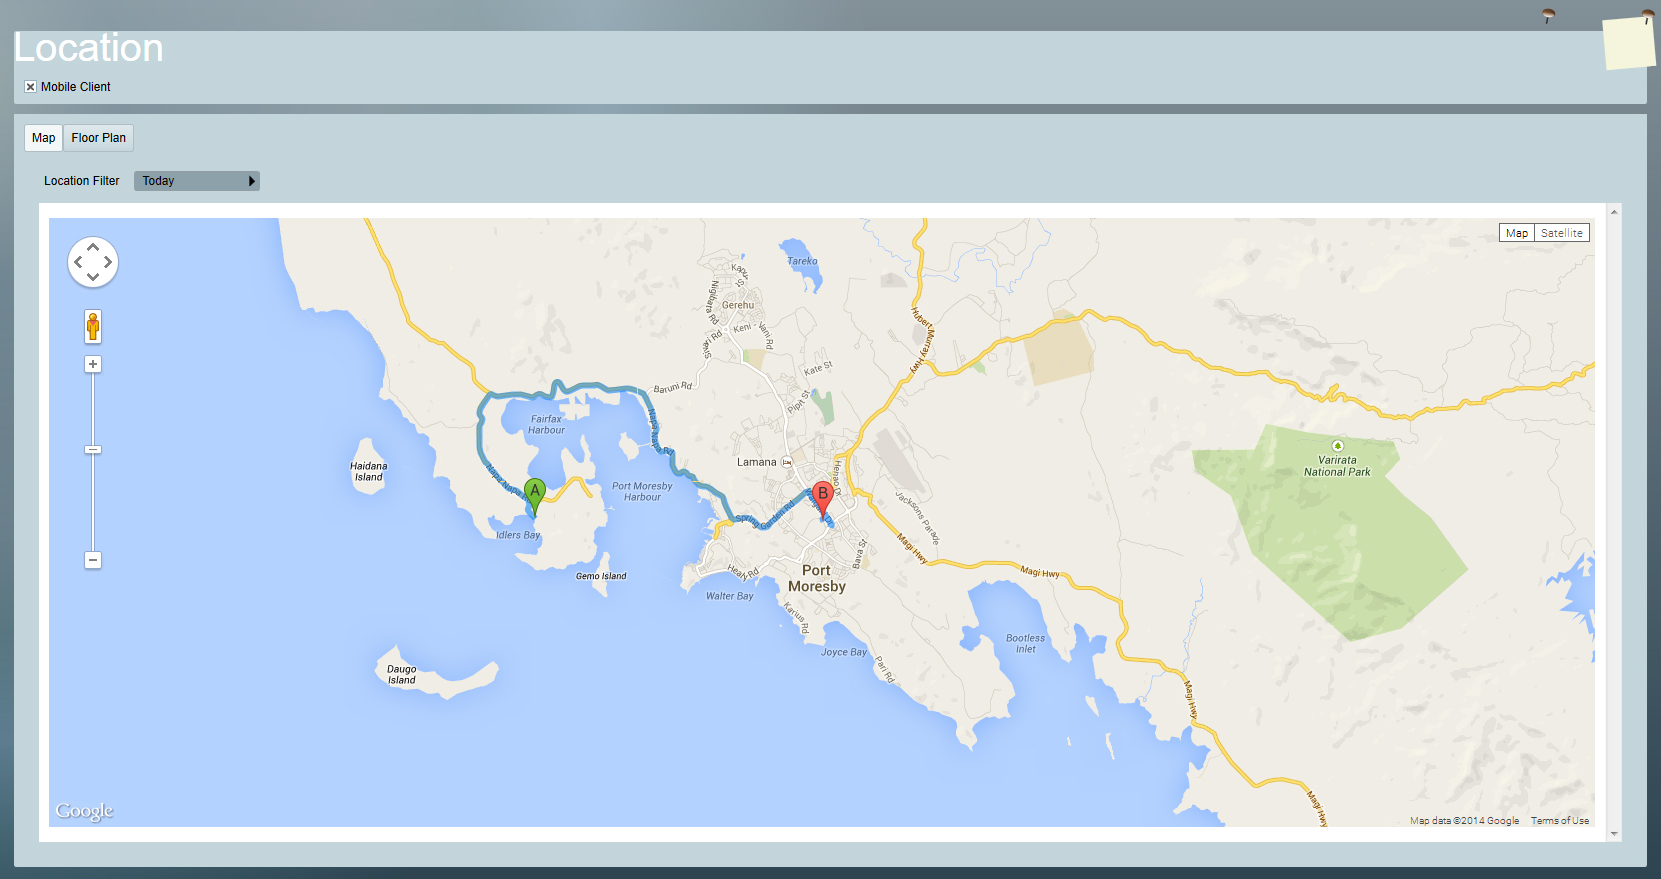
For mobile clients (e.g. vehicle or lone worker) select the 'Mobile Client'
checkbox under the 'Location' heading.
When the mobile client has sent through GPS signals to Patriot you will see
their previous and current locations displayed as a route. Each location may
have more information about it available.
You can limit the time frame of signals displayed as routes by use the
dropdown select Location Filter option.
Map Features
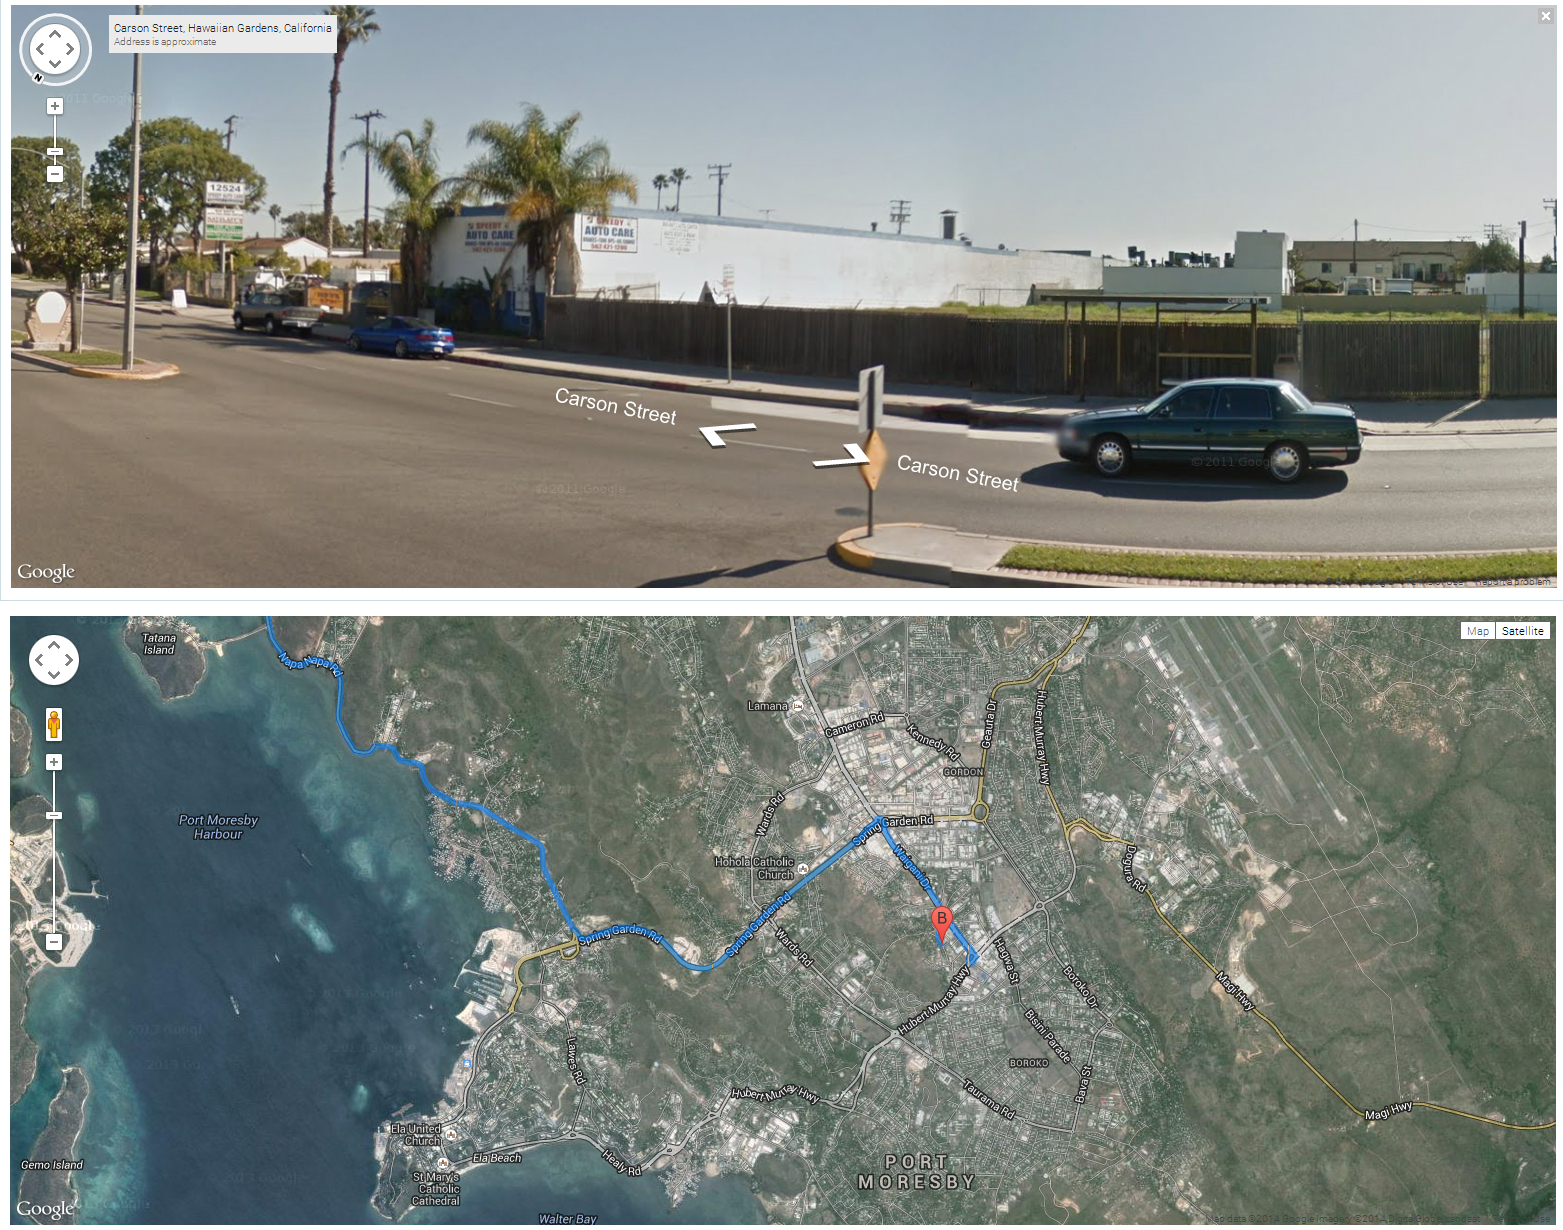
Patriot Internet Mapping can utilize other features of the mapping system
such as Street View and Satellite and Terrain views.
Activation Monitoring
A map of all current activations can also be displayed. To access this,
select the Maintenance->Activations->Monitor
Activations menu item. This will require additional setup html files.
Please contact Patriot support if you require these files.
This screen updates every few seconds and can serve as a useful guide to
current alarm activity. The screen automatically zooms and pans to fit all
clients. It is intended as an automated screen and no user input is
available.
If required, the map can also show clients who are not currently in alarm.
To enable this, select the option in the mapping options on the System Wide
Settings screen.
Troubleshooting
If you see the "Unsupported browser mode" warning message or get an
"InvalidCharacterError" or other scripting error pop-up when opening the
Mapping tab of a client, you may have an incorrect browser emulation mode set.
This problem can be fixed with the Patriot Utilities program:
- Right click on the Patriot Utilities program entry in the Windows Start
menu and select "Run as Administrator".
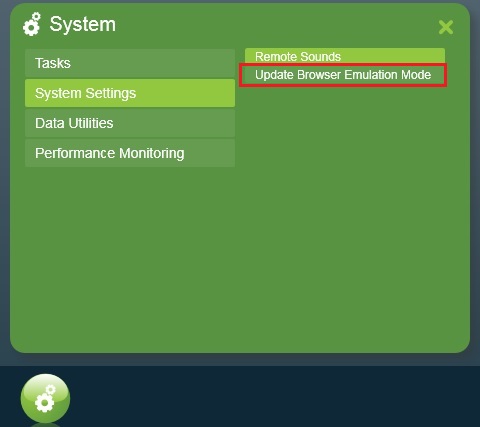
- Within the Patriot Utilities program go to System -> System
Settings -> Update Browser Emulation Mode
- Restart the Patriot client.
If you see an error message referring to a problem with "Internet Explorer
Compatibility View", try turning Compatibility off from within Internet
Explorer. This setting is found under Tools -> Compatibility View
Settings


