Linking Patrols to Accounts
Overview
This guide explains 2 basic options for linking Patrols to sites/accounts and then explains how to configure Response Plans to determine when the Patrol User will appear in the Response List.
This guide is useful when setting up Web Dispatch, Manual Dispatch, third party dispatch systems for dispatch companies or when you have one or two internal Plink Patrol response units.
If you are using internal Plink Patrol APP and have to manage more than a few Patrol Response units then we recommend looking at tutorial for setting up Internal Patrols below:
Prerequisites
The Patrol User should already be setup as well as any global settings.
Index
Linking the Patrol with User Templates
Making Patrol Users show during Response - Web Dispatch Module Example
Assigning the Patrol Manually
In some cases assigning the Patrol User manually like any other user is the best option.
Go to the account you want to dispatch patrols from. Go to the Users Tab. Click the Assign Existing User button and select the Web Patrol User.
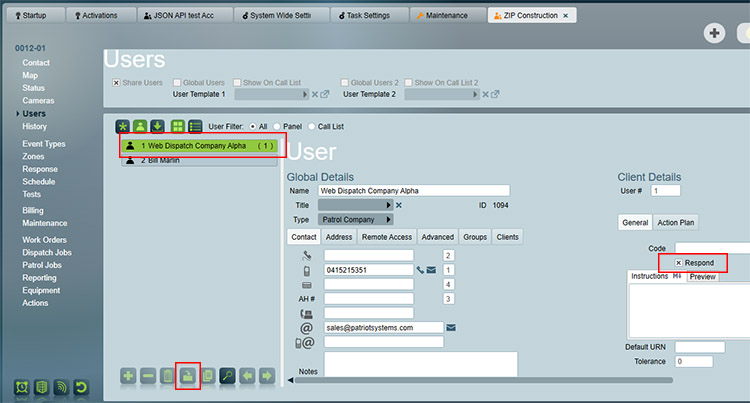
Make sure to also select the 'respond' check box so they are ready to show in the response list by adding them to the Response detailed in section B of this tutorial.
You can also add Patrol users to templates that you create new accounts from. This makes sure they are automatically assigned to new accounts.
Linking the Patrol with User Templates
If you want to assign a Patrol User to many accounts at once then templates may be the right answer.
To assign a Patrol User to all accounts you can add them to the Global User Template.
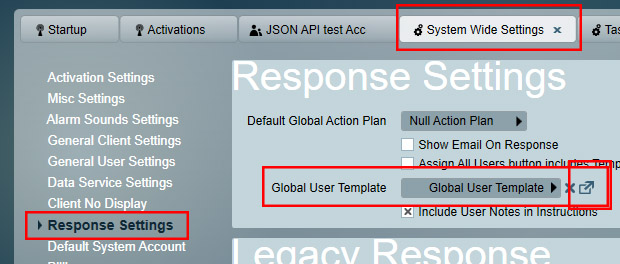
The Global User Template is selected here in the systemwide settings.
Click the box icon next to the template to automatically load it up.
Assign your Patrol User into the Global template. If there was no global template selected create a new template or use one of your existing templates.
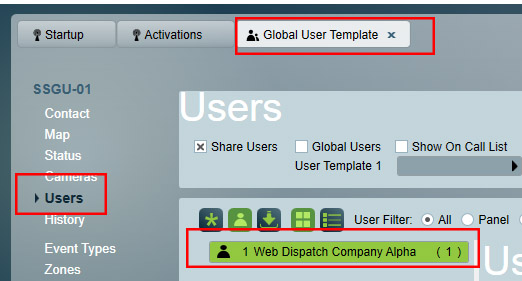
Make sure to also select the 'respond' check box so they are ready to show in the response list by adding them to the Response detailed in section B of this tutorial.
The Patrol User will now be available in every account and ready to have response configured as detailed in Part B of this tutorial.
If you want to assign a Patrol User to a subset of accounts then you can create a User Template with your Patrol User assigned ( and checked to 'respond' ) and assign that template to a subset of accounts.
You can use the bulk update feature to add the user template into many accounts at once.
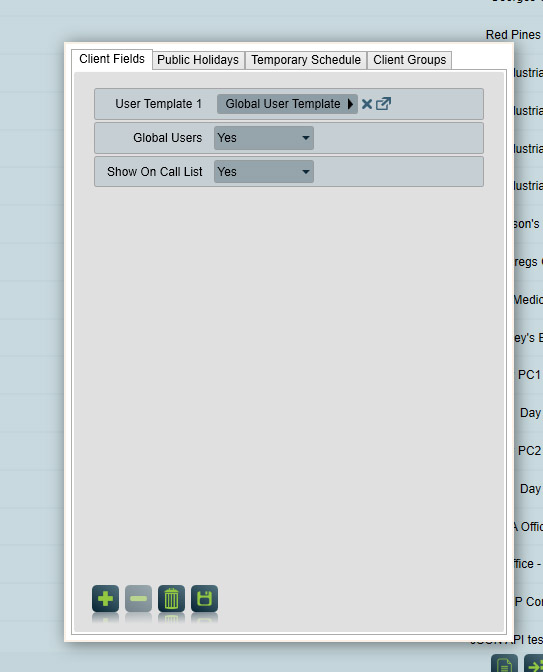
They Patrol User will now be available in the subset of those accounts ready to have response configured as per Part B of this tutorial.
Making Patrol Users show during Response
Now the Patrol User or Users are linked to accounts we need to make sure they show in the response lists for operators to send the jobs to.
The easiest way to do this is to give the Patrol Users a unique User Type or User Grouping.
In this example we will use the User Type method and creating a Response Plan to dispatch Jobs to a patrol company using Web Dispatch. Create a User Type called Patrol Company.
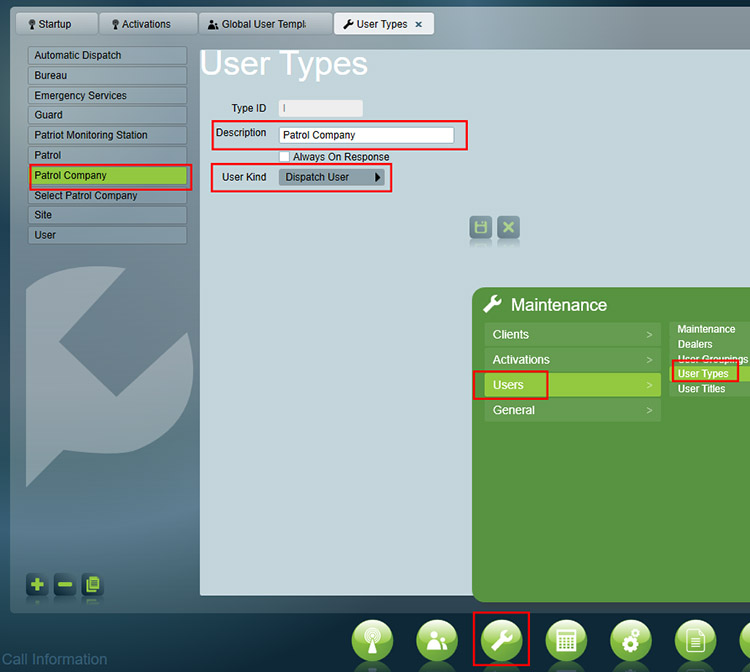
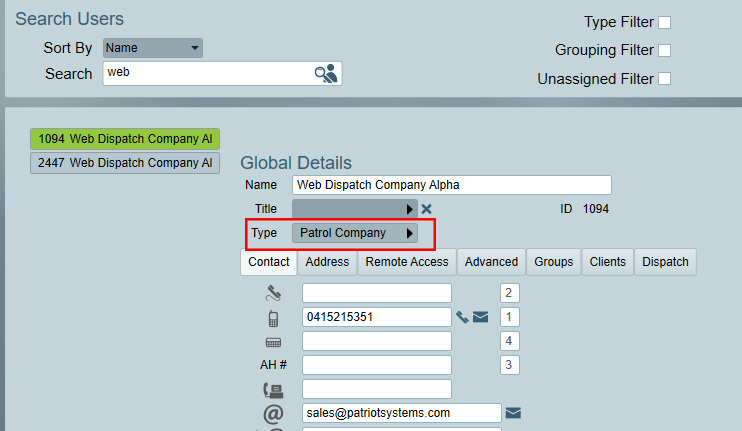
Assign the Patrol Company User Type to the Web Dispatch User
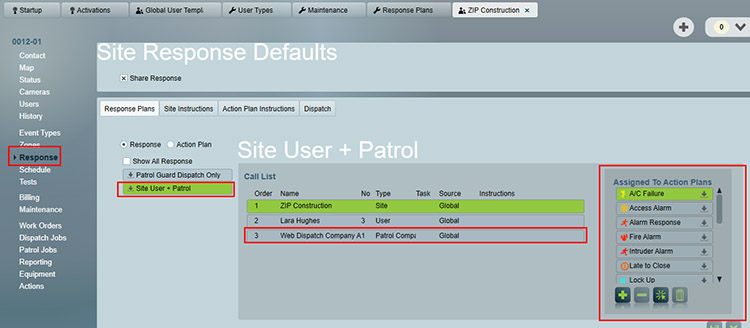
Go to the Response Plans and create a new Response Plan for Dispatch with Patrol Users. You could just have one Response Plan and include the Patrol User all the time but having at least two Response Plans, one with the Patrol dispatch user and one without, allows you to choose which action plans should show the Patrol and which should not.

You can then go to any account and see the Patrol User show up in the response tab for the appropriate accounts and appropriate action plans
